Mastering Angles in Product Photography
One of the details I include in my shot list for every product photography client who I work with from my Chicago-based studio is the angle of the shot. This post is all about why that small detail matters and how to master each angle.
What is an angle in product photography?
The angle of a photo is what I say when I’m talking about where the camera is in relation to the subject of the photo (in other words, your product!). Depending on where the camera sits, the photo can look very different. As an experienced product photographer, I’m fairly fluent in which angles will look the most flattering to your product depending on the shape and concept of your products. But even so, I always like to walk my clients through the options so they understand how we could make their products look. Sometimes, the fresh eyes add new perspective!
What are the three angles of product photography?
Every photographer will describe these differently and different types of photography may have a different list. But in my Chicago product photography studio, here are the three angles I use:
Straight-On
In a straight-on shot, the camera sits directly in front of the product on the same plane and at the same height. This angle is a good one to use to capture packaging, especially if a product can sit upright on its own. In food photography, I use this angle for things with layers, like cakes, sandwiches, and parfaits. This angle is very flattering for smaller products, too, because it can help make them look larger than they are in actual size.
Flatlay
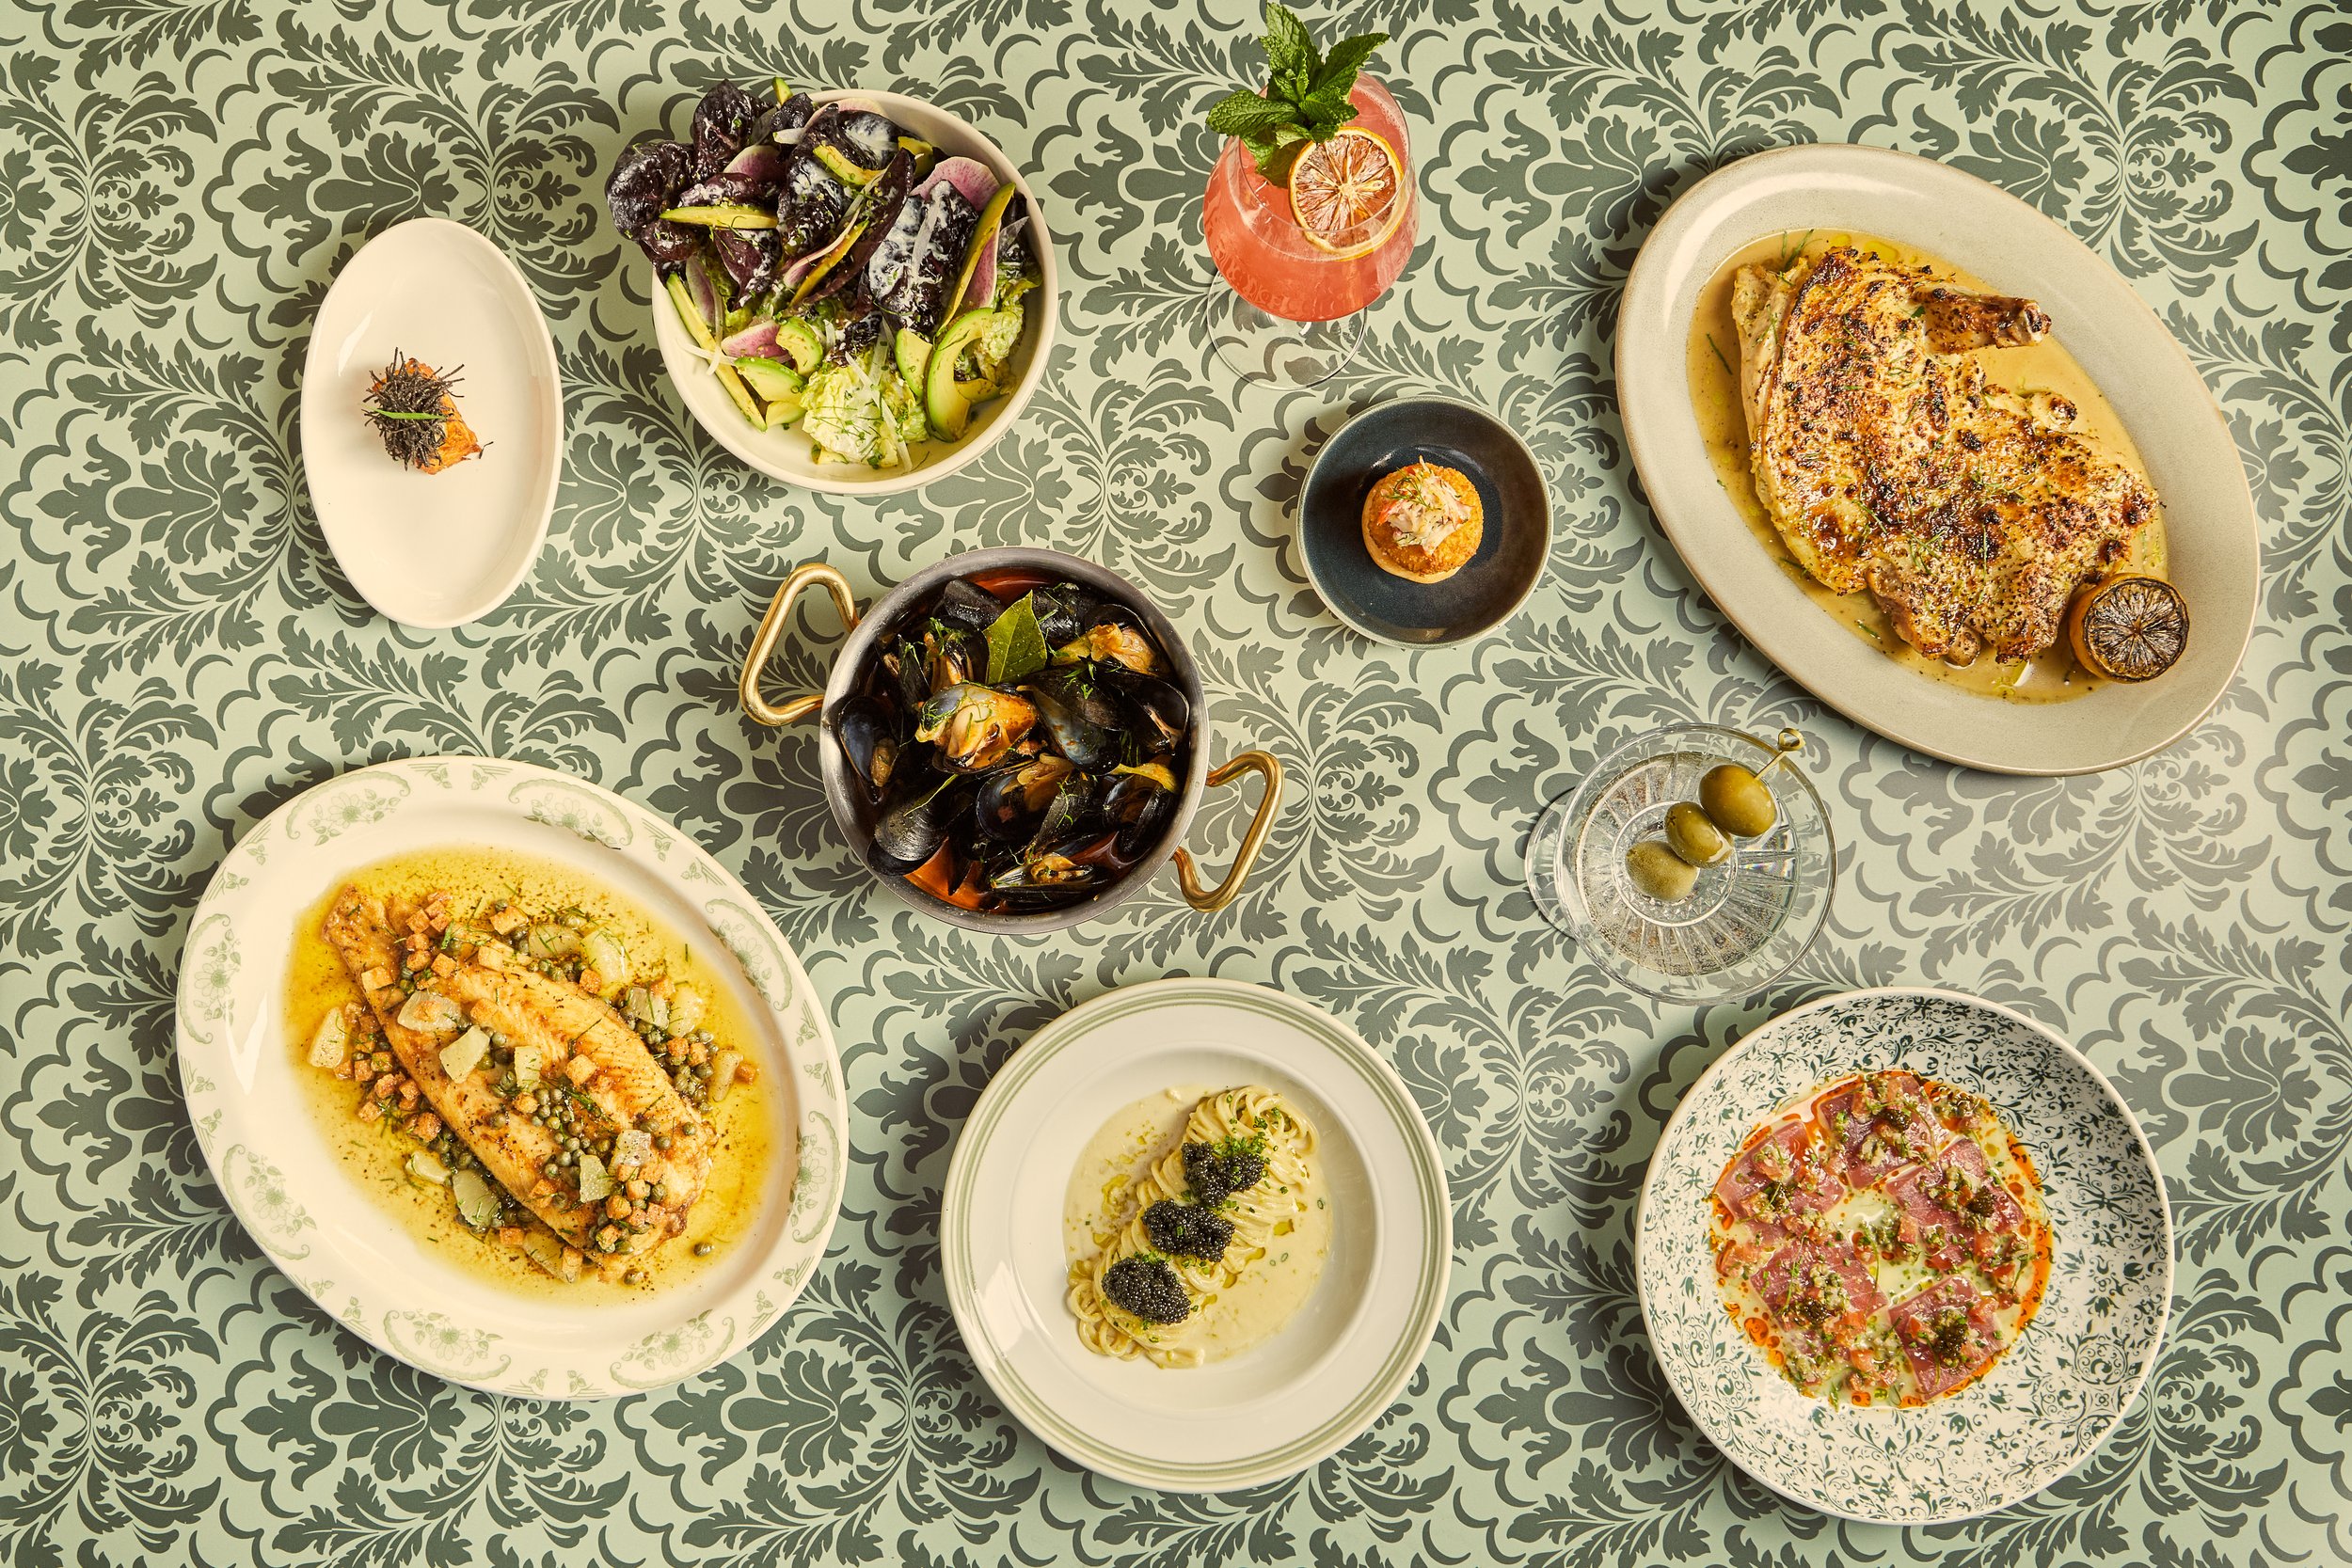
In a flatlay shot, the camera is directly overhead of the product and the scene. Obviously, to capture packaging, that means that the product needs to be laying down on the surface on which we are shooting. This can create some complications depending on the size and shape of the packaging as well as the angle of the light that you’re using. I usually don’t recommend using this set up too extensively with product shoots because of those factors as well as the fact that it can look a bit contrived when a product is sitting on its side in a scene. However, there are definitely times when this is the best bet to capture everything you’re trying to capture. On the other hand, I love using this angle for food photography. It’s an easy way to capture a tablescape or a detail shot of nearly any food.
45 Degree
I think of this angle as the universally flattering angle. Nearly any subject or scene can be captured using what I call a “45 degree” angle shot or what some other photographers might refer to as a raised angle shot. In this angle, the camera is set up a bit higher than the subject (the real degree measurement is both flexible and inexact!). This allows me to capture the subject’s side, height, and the scene that it sits within all in one photo. It’s great for product photography, food photography, and lifestyle photography. You can see why I call it the universal angle!
How do I decide what angle to use for product photography?
First, think about your subject. There are some sujects (like burgers, for example), that simply do not work with certain angles. Think about a picture of a burger from above—all you’d see is the top of the bun unless you got weird with your styling. In that case, you have to use a straight-on or 45 degree angle to capture the true nature of the subject.
Next, think about the setup or scene of the photo. Is this a lifestyle shot with countertop space and other groceries nearby? Or is this a table on which the product has been placed for enjoyment? Oftentimes, this is what determines which angle I use.
Lastly, try a test shoot and see how the lighting you’ve decided upon is working or not working with your subject. Sometimes, the light you want for the scene doesn’t work with certain angles. Remember to stay flexible!
What are some examples of angles in product photography?
So glad you asked! Let’s look at some examples.
This is a straight-on angle. The camera was sitting at the same height as the product to best show off the size, color, and detail of the packaging—as well as those gorgeous pancake layers!
This is a flatlay angle. The camera was directly above these dishes so we could capture the detail in everything as if this was all laid out on a table.
This is a 45 degree angle shot. The camera was a bit higher than the subject, which allowed me to capture the detail of the top of the icing as well as the sprinkles around the side.


