Types of Food Photography Lighting
I am obsessed with light—and therefore, I am obsessed with the shadows that exist in places where there’s less light. Light is always changing, and a million different things can affect the way it rests on the subject of a photo.
When I find shadows or lighting that catches my eye, I snap a picture, then I study it. What is casting it? How rough is it around the edges? How much fill does it have? Why is it there and how is it changing? Most importantly, can I replicate it at home?
In this post, I’m breaking down the types of light I use in food photography and tips for mastering lighting in photography. Whether you’re a photographer or a client, understanding the different types of light and how it can change the mood of a photo is key.
Types of Lighting for Food Photography
Hard Light

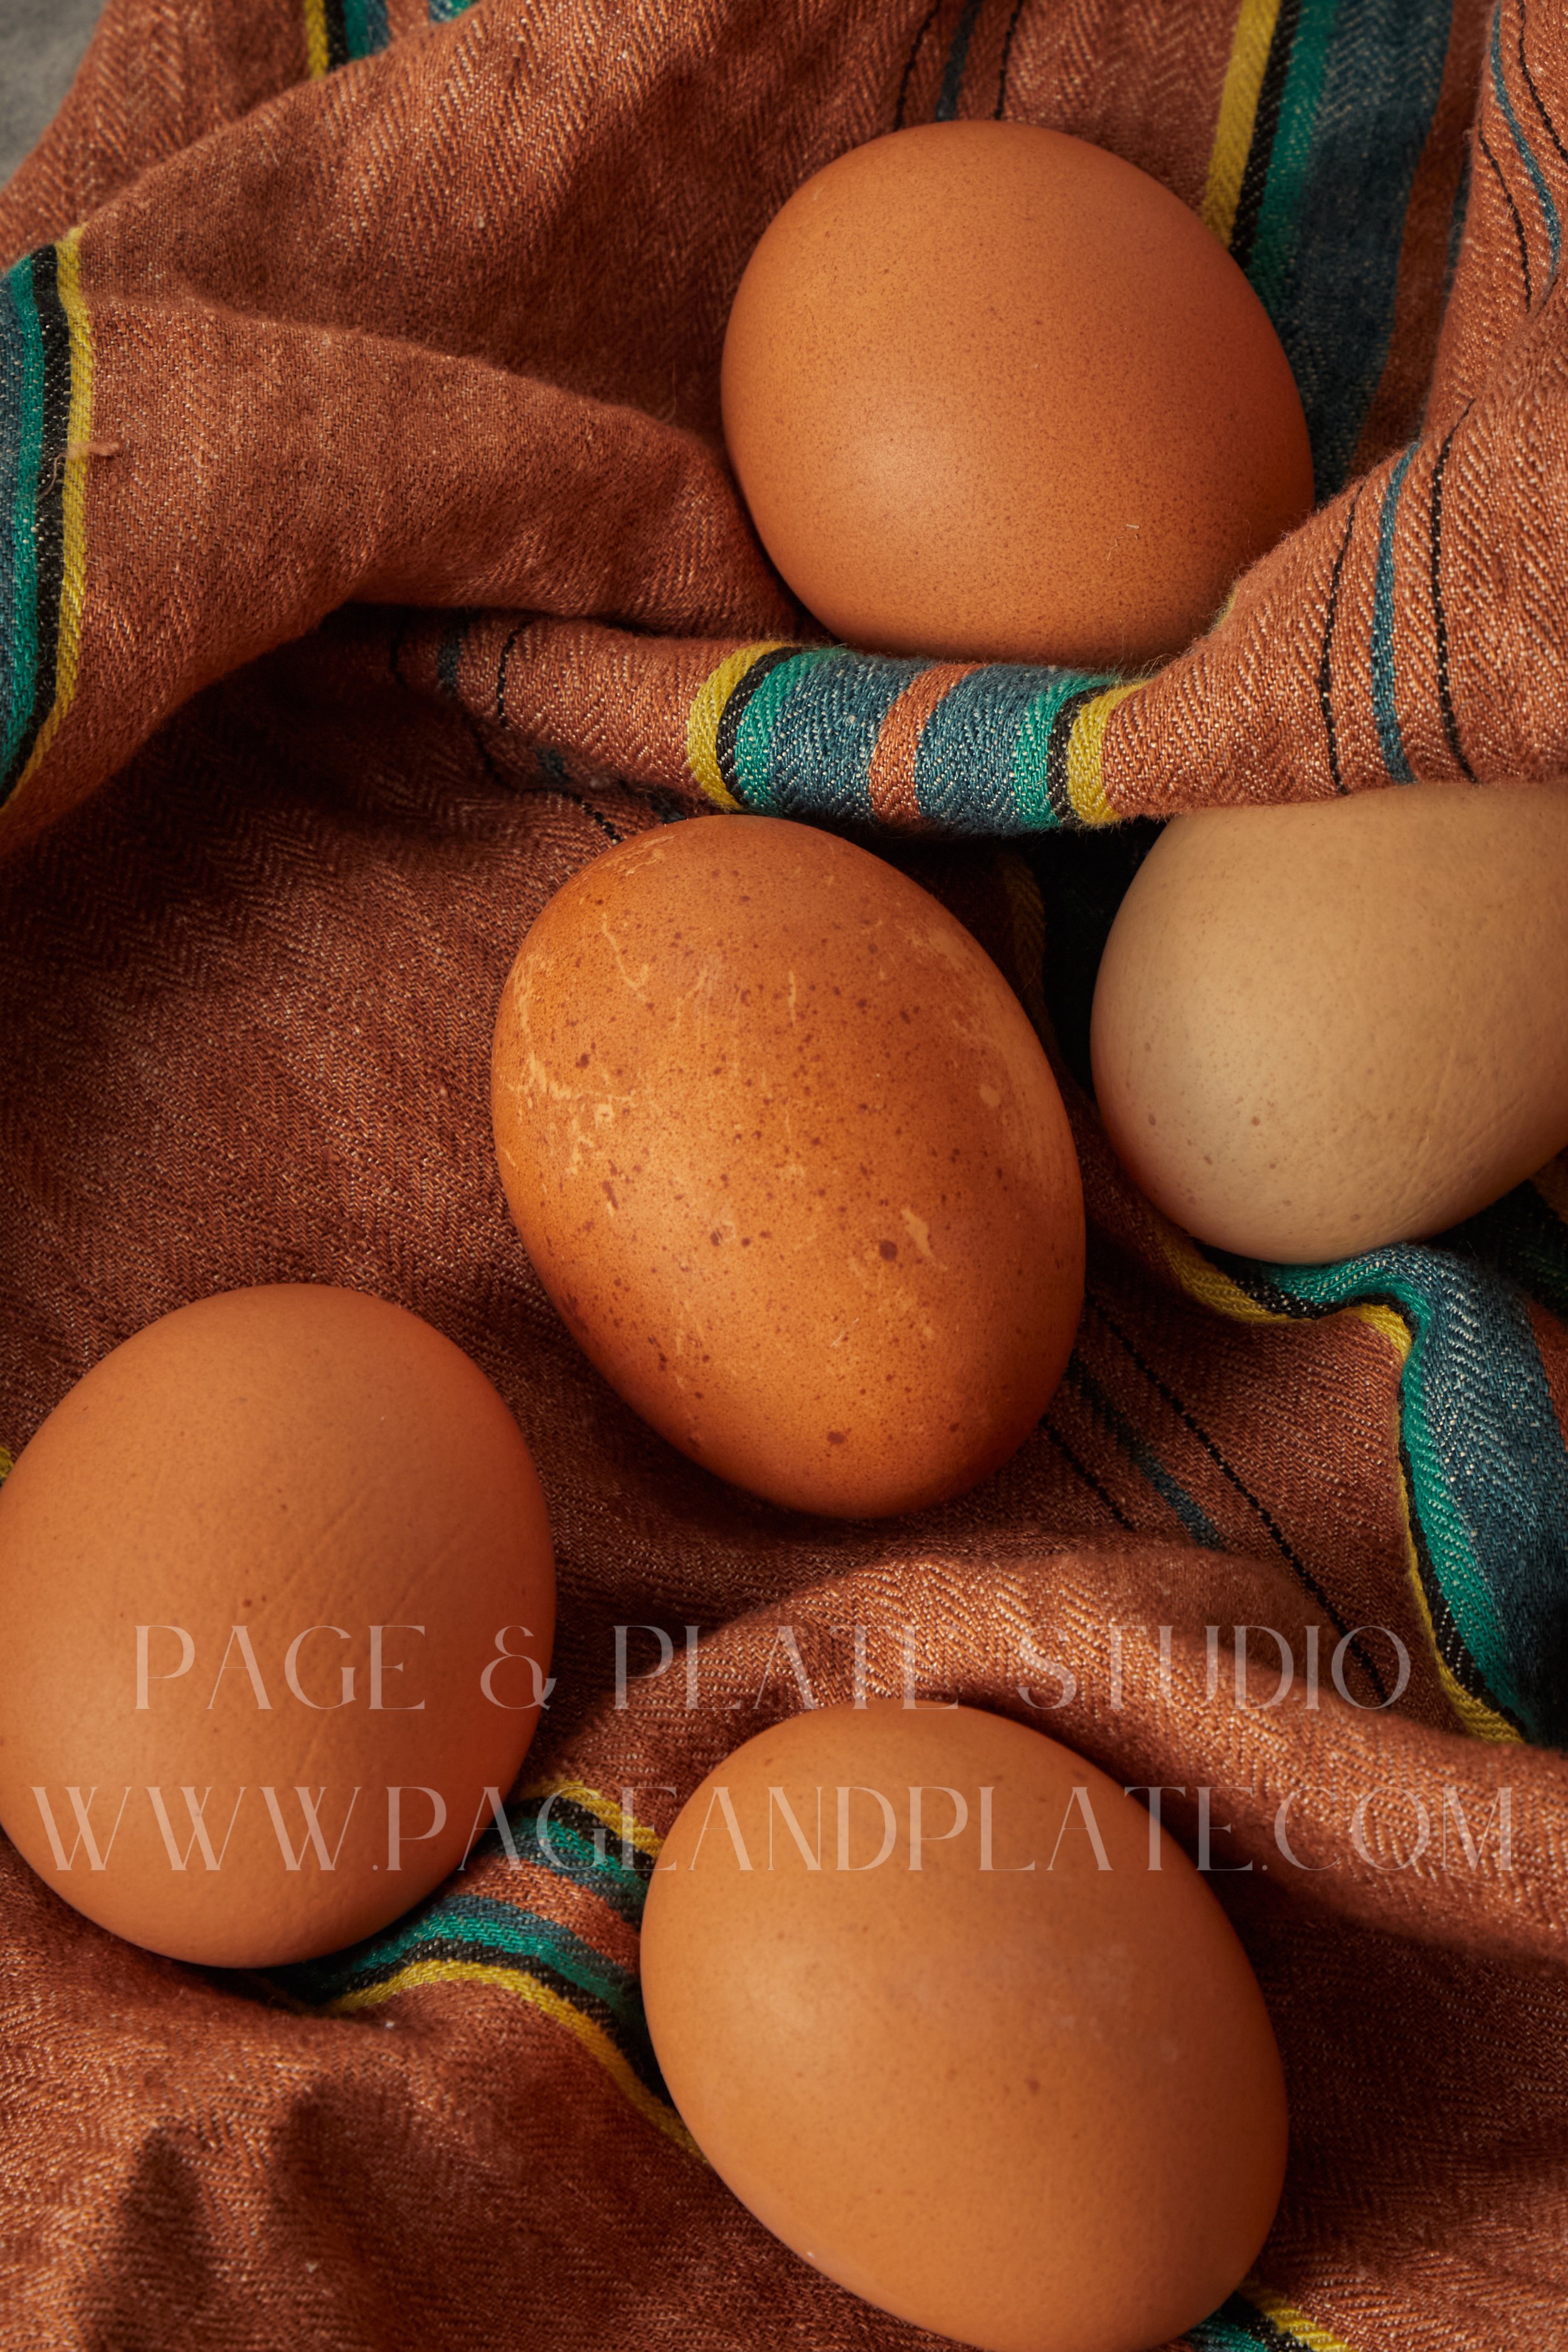
This is an example of hard light with harsh shadows. The shadows on the egg are intense and bold. The highlights are bright, and it’s as if the sun is shining through a window.
Imagine a picnic on a sunny day in an open field. The sunlight is blazing down on you, and the blue of the sky allows the light to fill from all angles. The shadows that are cast by your snacks are “harsh shadows” made from “hard light.” They’re bold and stark and intense. This technique has been really trendy in recent food photography lighting, and I’ll talk about the best ways to rig your lighting set-up for this type of lighting in another post!
Soft Light
This is soft light with soft shadows. As you can see, compared to the photo above, the shadows blend into each other and the background here. They are not prominent or distracting.
Now imagine that same picnic on a cloudy day. It’s not raining, but the whole sky is covered by clouds. The light coming from the sun is diffused or filtered by the clouds. It’s still bright, but it’s a much more even brightness, and the shadows are longer. Shadows in this “soft light” are “soft” too: their edges are fuzzy and their shapes aren’t as well defined.
Modified Light

This is modified light. Here, I used a bounce board and a modifier on my light to brighten the shadows (also called fill). It can be hard to tell the difference between modified light and hard light depending on the style. These examples have subtle differences.
Back to the picnic. This time, instead of an open field, we’re in a forest. The sun is shining, but the light is being filtered through the leaves of the trees above. This kind of light, manipulate by objects close to the subject, is modified light. Usually when tree leaves are involved, this subcategory is referred to as “dappled” light, but it’s all a form of modifying the light coming from the light source before it hits the subject.
Choosing the Right Lighting Set-Up
Determining which product photography lighting techniques to use is always a careful balance. There are a ton of factors that influence
Mastering lighting in photography is not something that happens overnight, and that’s why it’s important to find a photographer who can help determine what is best for your project. Lighting set-ups will differ based on several factors, so make sure to be open about expectations and ask questions to pick the right technique.
Subject
First and foremost, I think about the subject of the photo: is it a reflective can? Maybe hard light will introduce some reflections and highlights that could distract from the branding. Is the subject a new line of hot sauces that are being used on tacos? Maybe hard light will make the colors pop and emphasize the smooth texture of the sauce. There’s no right answer here, but in general, if a product is reflective and shiny, I try to avoid hard light and shadows.
In terms of food photography lighting, I love the way hard light looks on most foods. Exceptions (for me) include soups, some cocktails, and wintery foods.
Mood
Part of why I love lighting so much is because of the way it tells the story of the photo you are trying to take. Every photo captures a moment in time, so when you’re deciding what type of light to use in your photos, think about what would be most appropriate for the moment.
Often times, hard light reads as trendier, literally hotter, and edgy. There’s a sense of upbeat excitement with hard light and harsh shadows. Maybe this makes sense for your brand—are you trying to attract an energy that matches that of a sunny day?
On the other hand, softer light and shadows evokes a quieter, moodier vibe. There’s drama here of a different sort. Maybe that makes more sense for a product like a relaxing soap or a candle.
Composition
Think about the composition of your photo when you’re determining what lighting set-up to use as well. Though this can be a secondary factor, especially with the rise of generative AI to help extend a crop, it can still affect the way a photo reads to a viewer. I always remind my clients that unexpected things can fill space in a frame, and that though shadows might not be on the prop list, they’re a big subject. Don’t forget to leave room for them as well if you’re using hard light.
Conclusion
Of all of the photography lighting tips I have, spending time to think about lighting and what’s right for your project is one of the most important. Lighting affects the mood, can help the subject stand out, and can help show off your brand voice. It’s important to find a photographer who understands lighting and how to make it work to tell the right story about your visual identity.